
Custom Images
Pre-package your development tools, language runtimes, and dependencies into a custom base image. Devboxes created from your image start with everything pre-installed.
Most teams can get started with Namespace's managed base images. Custom images are for when you need specific toolchains, system packages, or configuration baked in.
This guide assumes you have the Devbox CLI installed and authenticated. If you haven't set that up yet, see Getting Started.
Dockerfile
Use a standard Dockerfile to define your development environment. Install the tools, runtimes, and dependencies your workflow needs.
FROM ubuntu:24.04

# Install common development tools.
RUN apt-get update && DEBIAN_FRONTEND=noninteractive apt-get install -y \
    sudo git curl build-essential ca-certificates \
    && rm -rf /var/lib/apt/lists/*

# Create a non-root user with passwordless sudo.
RUN adduser --disabled-password --gecos "" --uid 1001 devbox \
    && echo "devbox ALL=(ALL:ALL) NOPASSWD:ALL" > /etc/sudoers.d/devbox \
    && chmod 0440 /etc/sudoers.d/devbox

# -------------------------------------------------------------------
# Install the tools your team needs. Everything above this line is
# boilerplate; everything below is yours to customise.
# -------------------------------------------------------------------

# Example: install Go
RUN curl -fsSL https://go.dev/dl/go1.26.0.linux-amd64.tar.gz \
    | tar -C /usr/local -xz
ENV PATH="/usr/local/go/bin:${PATH}"
ENV GOPATH="/home/devbox/go"
ENV PATH="${GOPATH}/bin:${PATH}"

# Set the default user for terminal sessions.
USER devbox
Why Dockerfiles?
Using Dockerfiles for base images provides:
- Familiarity: Use the same syntax you already know
- Version control: Check your environment definition into git alongside your code
- Flexibility: Install any software, configure any tools, customize any settings
- Portability: Share consistent environments across your entire team
Building an Image
The argument to devbox image build is the build context directory. By default, it looks for a Dockerfile in that directory.
$devbox image build ./my-image --name=my-team/golang
--name is required. Use a descriptive name like my-team/golang or frontend/node20. The image is published to your workspace and available immediately.
Use -f to point to a Dockerfile in a different location. This is useful in a monorepo where the Dockerfile lives in a subdirectory but you need the full repo as context:
$devbox image build . --name=my-team/dev -f ./devbox/Dockerfile
The build context is sent to Namespace's remote builders. If your context contains files you don't need in the build, add a .dockerignore to keep the upload small.
Run devbox image build -h for additional options.
Optimization
After a build completes, Namespace converts the container image into an optimized disk format. This is what allows devboxes to boot in seconds rather than pulling and unpacking a container image on every start.
Optimization runs automatically and typically takes a few minutes. You can track its progress in the CLI output and in the Images dashboard.
Creating a Devbox from Your Image
Once your image is built, create devboxes from it.
Via the CLI:
$devbox create --image=my-team/golang
Or with a repository checkout and machine size:
$devbox create --image=my-team/golang --checkout=github.com/myorg/myrepo --size=m
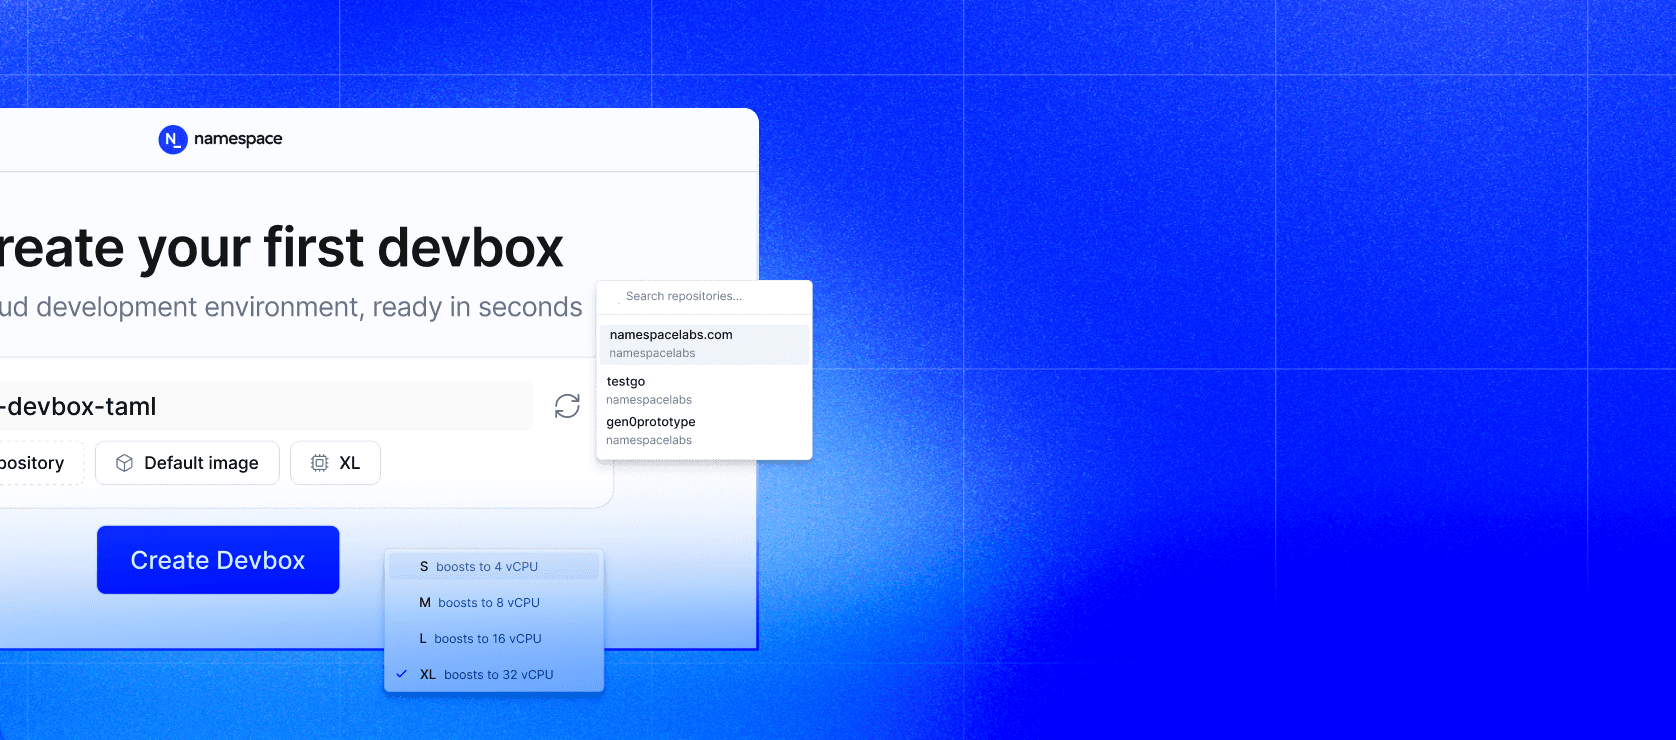
Via the Dashboard:
Go to Devboxes and click Create devbox. Select your custom image from the image picker, choose a machine size, and optionally provide a repository to clone.
Managing Images
Listing Images
$devbox image list
Or visit the Images dashboard to browse all images in your workspace, view details, and check optimization status.
Updating an Image
Rebuild with the same --name to publish a new version. New devboxes will use the latest version; existing devboxes continue using the version they were created with.
$devbox image build ./my-image --name=my-team/golang
Expiring an Image
Expire an image to prevent new devboxes from using it:
$devbox image expire my-team/golang
Existing devboxes that were created from the image are not affected.
Next Steps
Remote Development → Connect to your devbox via SSH, VS Code, Cursor, Zed, or JetBrains.
Managing Devboxes → Lifecycle operations, machine sizes, workspace defaults, and monitoring.
Sessions → Persistent terminal sessions that survive disconnections and devbox restarts.