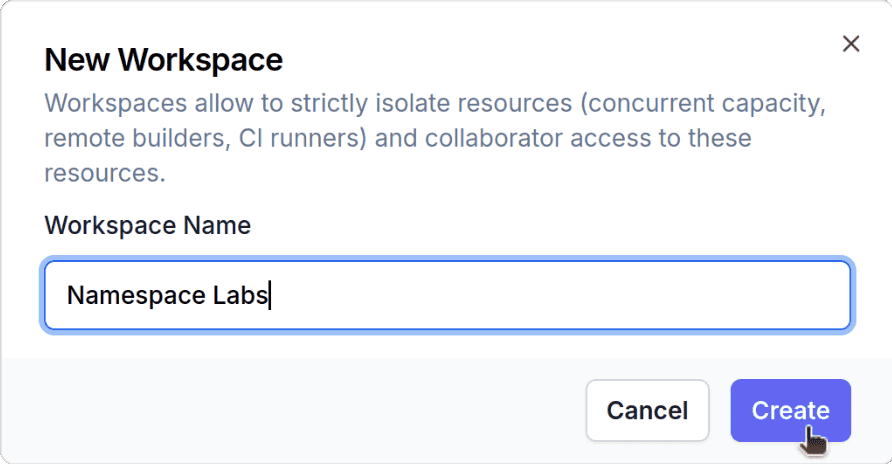
Your workspace - sometimes also referred to as a tenant - can enable collaboration on a set of resources.When joining Namespace, a personal workspace gets created for you.
You can immediately start running instances on that workspace.
More on how to get startedYou can also create multiple workspaces via the dashboard:
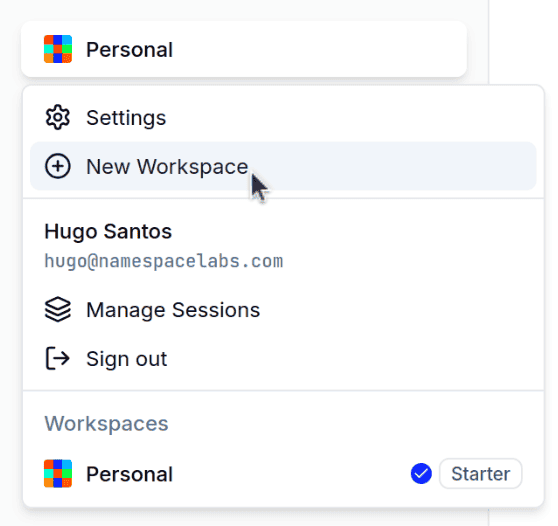
In order for the Namespace team to be able to identify your workspace, it is helpful to share your unique workspace ID.
You can find your Workspace ID on the Settings page.
From creation, each workspace is completely isolated and personal.
Namespace ensures high security standards and comprehensive access control mechanisms
to help you manage who can access your workspace and what actions they can perform.An invitation from an owner or admin of the workspace is required to add additional users.More information on Workspace access
How to handle multiple teams from the same company using Namespace?
Namespace can support different scenarios for multiple teams from the same company using Namespace.
Depending on the use case, the following setup is recommended:
Multiple teams running in the same workspace
Each team has their own workspace connected as a multi-tenant account
Each team has their own independent workspace
Shared invoice One invoice including accumulated usage.
Yes
Yes
No
Shared usage budget Teams share the included unit minutes, builds, etc.
Yes
Yes
No
Shared dashboard The dashboard is the same for all members: Usage details, instance details, etc.
Yes
No
No
Shared concurrency limits Teams use the same concurrency budget
Yes
Limits can be set globally and per-workspace
No
Sharing cache volumes possible Share common caches between teams
Yes
No
No
Can share a GitHub Installation
Yes
No
No
Shared audit logs Including workspace event audits
Yes
Same audit log export sink can be configured
No
Last modified on August 19, 2026
⌘I
Assistant
Responses are generated using AI and may contain mistakes.