

How it works
Connecting a Buildkite organization creates a Namespace-managed queue and an agent token in either a new Namespace Cluster or an existing Buildkite cluster. A Buildkite webhook notifies Namespace when a job is scheduled on that cluster. Namespace then provisions an isolated instance, starts an agent for the queue, runs the job, and tears the instance down when the job completes. You can select the operating system, architecture, instance shape, base image, and persistent cache for each step using agent tags.Buildkite agents are a limited-access feature, reach out to get enrolled into Namespace-managed agents.Contact support →
Getting Started
Create a Buildkite API access token
Create an API access token for the Buildkite organization you want to connect. Namespace uses this token for initial setup, ongoing build reconciliation, and build annotations, so its expiry must be set to Never. The token can be revoked at any time through the Buildkite UI.
Enable these REST API scopes:
read_pipelinesread_buildsandwrite_buildsread_clustersandwrite_clustersread_organizations
The “No organization” access option is not supported. Make sure that you select a valid organization for your token.
Connect your Buildkite organization
Open Buildkite → Get started in the Namespace dashboard. If another organization is already connected, select Connect organization from the Organizations page instead.Enter the API token and click Next. Namespace uses the token to identify your Buildkite organization and list its clusters.
Select a cluster and queue
Choose where Namespace should create its managed queue:
- Select Create a new cluster to create the Namespace Cluster with a
defaultqueue. - Select an existing cluster to add a queue to it. Enter a queue name, or keep the default name,
namespace.
Configure the Buildkite webhook
On the next page, click on Create new Webhook and copy and paste the provided webhook URL and token.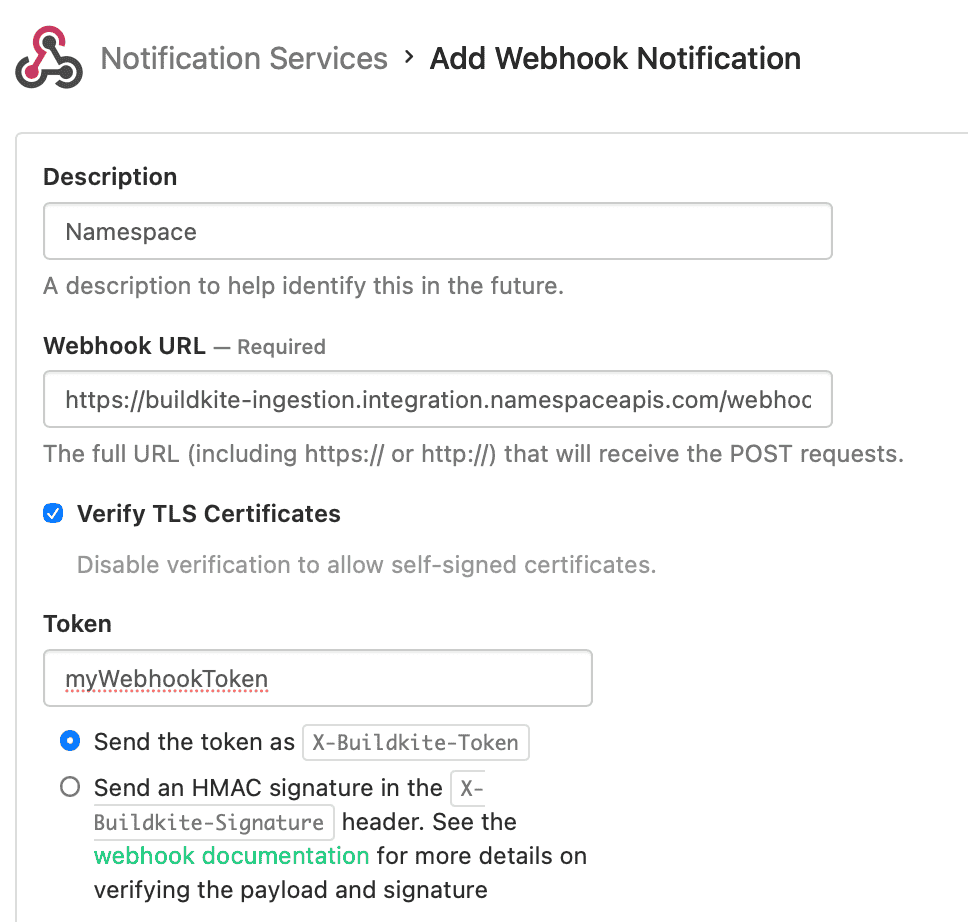
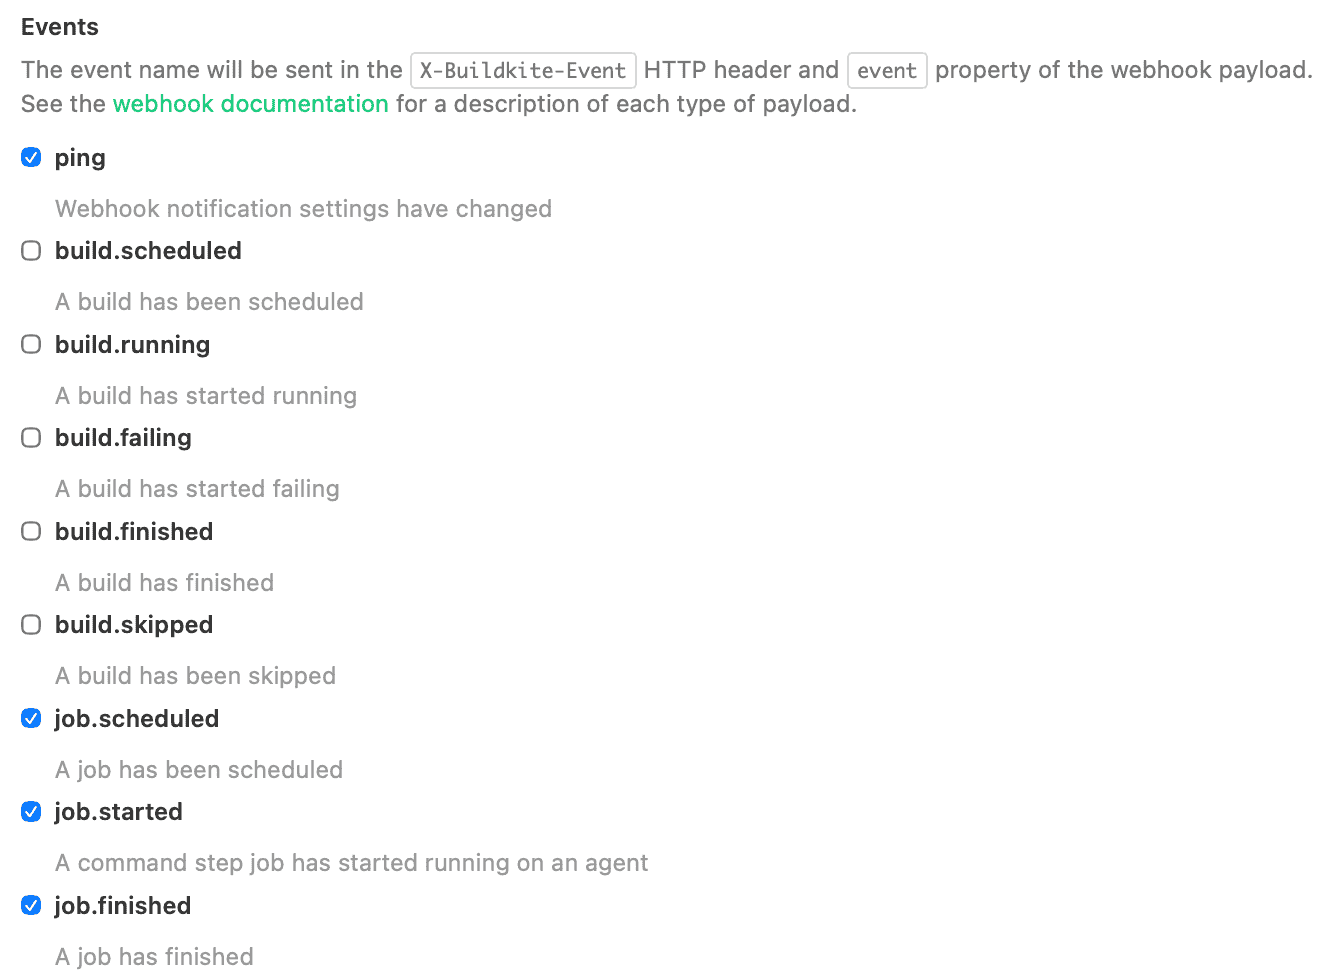
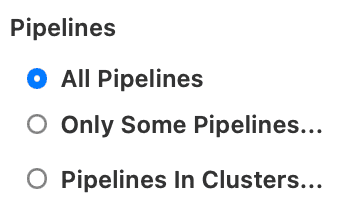
pingjob.scheduledjob.startedjob.finished
Checking out code from GitHub & Cursor Origin
Namespace checks out your repository before each Buildkite job runs. Public repositories work with no extra configuration; private repositories need credentials, as described below.Cloning with HTTPS
Cloning public repositories over HTTPS requires no additional configuration. To clone private GitHub repositories, add your GitHub credentials to your Buildkite organization in Namespace:- Connect your GitHub account through Code providers.
- Open Buildkite → Organizations in the Namespace dashboard and select your Buildkite organization.
- Click Edit Secrets, then Add another secret.
- Select GitHub Credentials from the dropdown, select your GitHub account, and then click Save Variables.
- Connect Buildkite to Cursor so Cursor can start Buildkite jobs for the repository.
- Connect Cursor Origin through Code Providers so Namespace can check out the repository.
- Configure the pipeline to use a Namespace-managed queue as described in Getting Started.
Cloning with SSH
You can configure cloning over SSH by uploading your private key either to Namespace Vault or as a secret in Buildkite. Currently, signed pipelines with SSH checkout are supported only with secrets stored in Namespace.Cloning over SSH is not supported yet for Cursor Origin repositories.
- Upload your private key as a secret, using either the Vault dashboard or CLI command
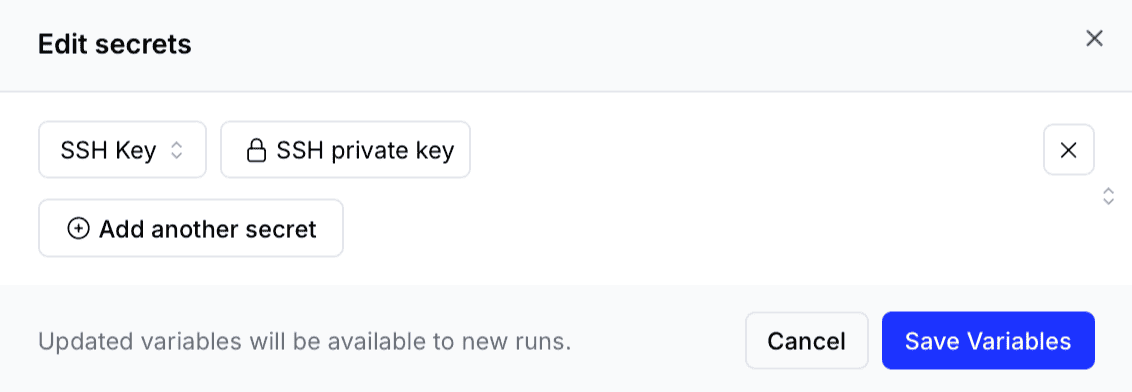
- In the Namespace dashboard, click on Edit Secrets and then Add another secret.
- Select SSH Key from the dropdown, select your key, and then click Save Variables.
checkout.ssh_secret on each of your pipeline’s steps that require SSH access: