
Running Codex in a Devbox


The environment you choose sets the boundaries for Codex. It determines which files it can edit, which credentials it can reach, which networks it can call, and what happens if a command goes wrong. Coding agents are useful because they can take action without waiting on every step, but that makes isolation important. A Devbox gives Codex a place to work without making your laptop part of the execution environment.
Namespace Devboxes give Codex a dedicated cloud workspace for that work. You can start from a repository, choose an image with Codex installed, attach scoped secrets, restrict outbound network access, and reconnect to long-running sessions from another terminal or machine.
Devbox Setup
A Devbox is a persistent, cloud-hosted Codex sandbox that spins up in seconds, connects to your IDE, and comes with Codex pre-installed. Codex runs inside of it, while your workstation's resources like the home directory, SSH keys, .env files, and production credentials stay out of reach.
If you are new to Devboxes, you can get started by installing the Devbox CLI.
Install the Devbox CLI
Install the Devbox CLI to create and manage devboxes:
$curl -fsSL get.namespace.so/devbox/install.sh | bash
Authenticate with Namespace
Authenticate with Namespace using the Devbox CLI:
devbox loginThis opens your browser to complete authentication. Once logged in, you're ready to create and manage devboxes.
Enable the GitHub integration
Enable the GitHub integration by visiting Devboxes, clicking Connect Organization, and following the instructions.
This lets Devboxes check out your GitHub repositories and configure push/pull access.
Running Codex in your Devbox
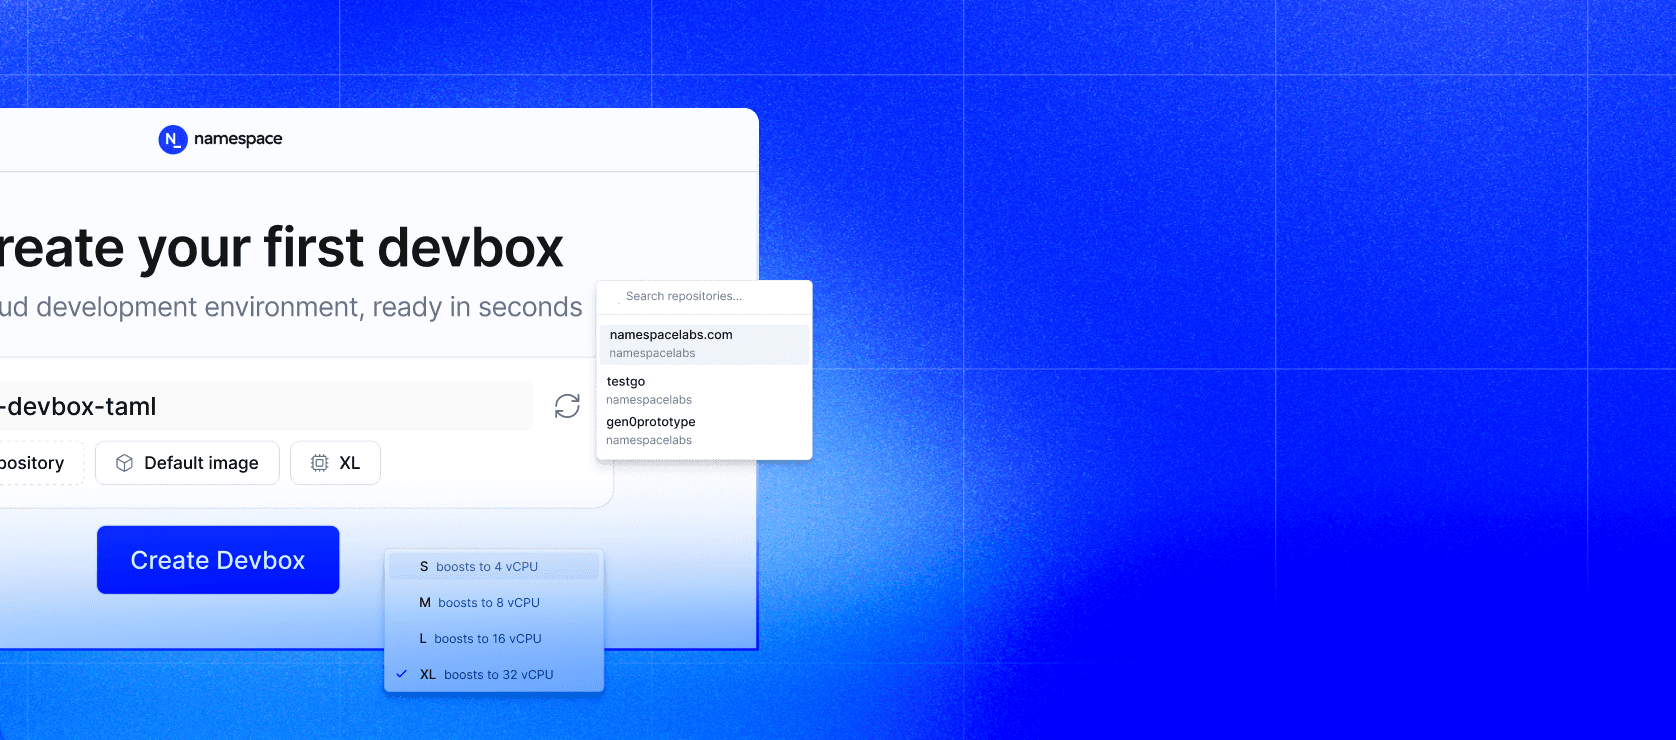
Create a Devbox
To create a Devbox, run the following command, replacing github.com/your-org/your-repo with your repo slug.
This will check out your code into the Devbox and set up permissions so you can push and pull.
devbox create --checkout=github.com/your-org/your-repoYou will be prompted to enter a name for your Devbox. You can skip this and use the autogenerated name.

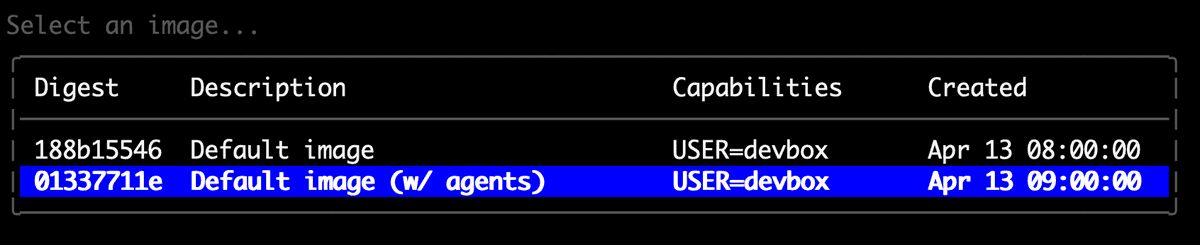
Next you will be prompted to select an image. Select the image name Default image (w/ agents), which comes with Codex pre-installed:
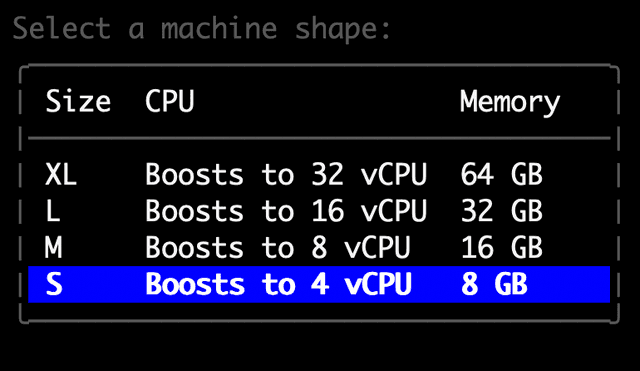
Finally, you will be prompted to select a machine size:
Connect to your Devbox
Once your Devbox has finished being created, you are ready to connect to it and use Codex.
devbox ssh my-devboxForward port 1455 for ChatGPT sign-in
“Sign in with ChatGPT” runs in your local browser, not inside the Devbox. The browser receives the callback on localhost:1455. Forward that port so the callback can reach Codex in your Devbox.
Open a new terminal window, run the port-forward command, and select your Devbox when prompted.
devbox port-forward --ports 1455Start Codex
Once you're connected launch Codex and follow the prompts to authenticate:
codexEnjoy Codex on Devboxes
From here, delegate work the same way you would locally. The difference is everything stays contained inside the Devbox and you don't need to walk around with your laptop open.
Reconnecting to your Devbox
The Devbox keeps its filesystem and environment after you disconnect. To return to Codex later, SSH back into the Devbox:
devbox ssh my-devboxThen start Codex again:
codexAutomatic Codex Devboxes with Spec Files
For a more automated setup, where you might create and delete multiple Devboxes, it is best to use Devbox spec files. Spec files let you configure a wide range of properties.
Create a spec file
Define your Devbox configuration in a spec file (make sure to update repository):
name_prefix: codex-             # generate a devbox name starting with codex-
image: builtin:agents           # use the image with agents
size: m                         # set instance size
repository: github.com/org/repo # your github repo
Create a Devbox from a spec file
Create a new Devbox non-interactively with --from:
devbox create --from codex.yamlSkip interactive authentication
To skip the interactive authentication each time you create a new Devbox, you can log in with an OpenAI API key, which you can automate with a spec file.
Store API key in the vault
Add your OpenAI API key to your Namespace Vault and copy the secret ID (it should start with sec_).
nsc vault add --description "key description"See the CLI docs for more.
Learn more about managing secrets.
Update spec file
Add an OPENAI_API_KEY environment variable that points to the secret ID (from the previous step), to the spec file.
Then add a session command to log in with the --with-api-key flag.
name_prefix: codex-
image: builtin:agents
size: m
repository: github.com/your-org/your-repo

env:
  - name: OPENAI_API_KEY
    from_secret_id: sec_abcde12345   # update secret ID
sessions:
  - name: setup
    command: printenv OPENAI_API_KEY | codex login --with-api-key
Create a new Devbox
Create a new Devbox with the updated spec file.
devbox create --from codex.yamlNow, when you run codex, you will already be authenticated.
Egress Filtering
Use egress filtering is useful when your agent should only reach pre-configured APIs, services, and other resources.
When working with Codex, include openai.com, chatgpt.com, and any other domains the task needs, such as github.com.
name_prefix: codex-
image: builtin:agents
size: m
repository: github.com/org/repo

network_policy:
  egress_domains:
    - "*.github.com"
    - "*.openai.com"
    - "*.chatgpt.com"
Sessions
For longer tasks, you can use Devbox sessions. If you give your agent a task in a session, it will continue working on it, even if you close the terminal.
You can reconnect to the session at any time, even from a different computer.
Create a session
Connect to your Devbox using the session connect command, and give the session a name:
devbox session connect --session task1The first time you call connect with a new name, Devbox will create a new session for you.
Any future call with the same session name will reconnect to the session.
Give it a task
Start codex with --ask-for-approval never to let it run commands without approval prompts in this session.
codex --ask-for-approval neverGive it a task that will take some time, like this:
Tell me what time it is, then wait for 30 seconds and tell me what time it is again.Then close the terminal.
Reconnect to a session
Next, open a new terminal window, and connect to your session again (using the same command as before):
devbox session connect --session task1The bottom line
Running Codex in a Devbox changes the shape of delegation. Instead of opening up your workstation, you give Codex a focused environment with the repo, dependencies, secrets, network policy, and session state you choose. It can keep working after you close the terminal, and you can reconnect when you are ready to review the result. That is a better default for agent work than running everything locally.
Get started with Devboxes today.