

Getting Started
Requirements
Before you start you need the following pieces:- Namespace account
- Cursor account on the Enterprise plan
Configure Cursor Cloud Agents
Open the Cloud Agents dashboard in Cursor, and enable the following: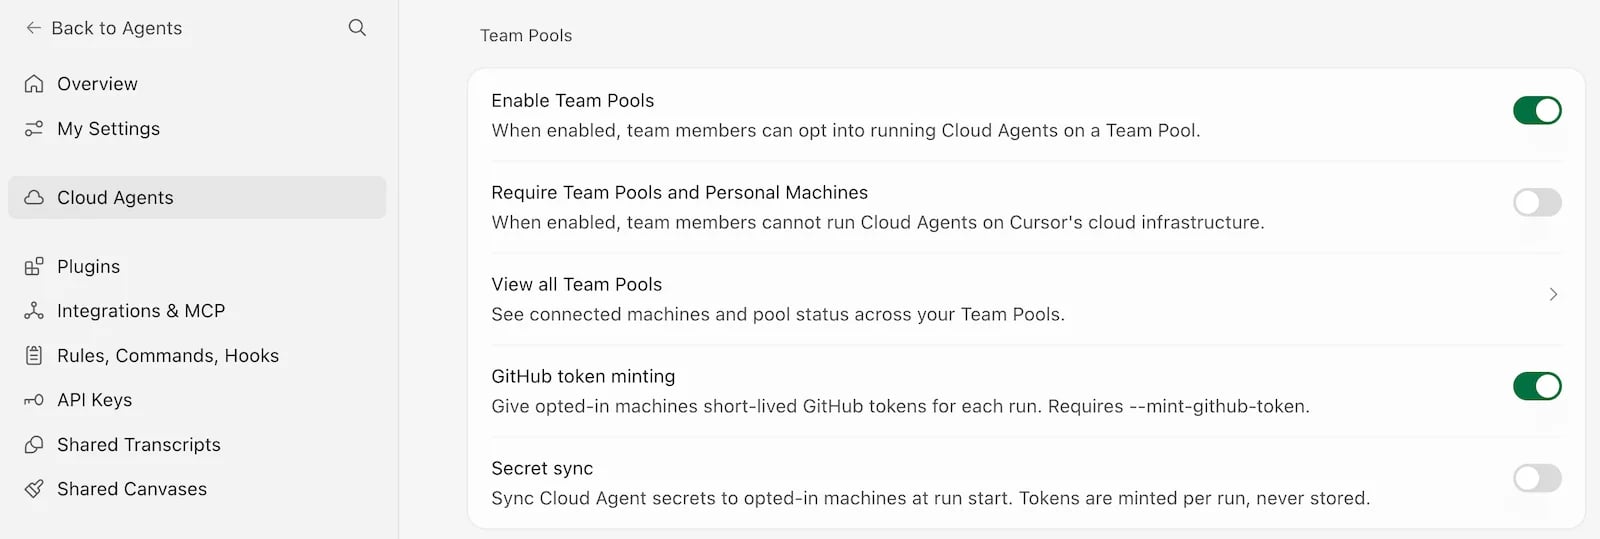
- Team Pools
- GitHub token minting
The above Cursor settings are team admin controls, so if you are not an admin on your Cursor team, ask one to enable them.
Create a Cursor service account token
In the Cursor dashboard, open Settings > API Keys > Service Accounts, and press New Service Account. Enter a name, and optionally a description, then press Create.Copy the generated key.
Repository Access needs to be set to All repositories from team’s connected Git providers.Pool workers authenticate with a Cursor service account API key. Personal, team, and organization API keys cannot start pool workers.
Create Devbox blueprint
Next, create a Devbox blueprint, which defines the environment that Cursor Cloud Agents run in.Navigate to the Devbox Blueprints page, press the + New Blueprint button, select Cursor and press Configure.Configure the following:
Name- the name of your blueprint, which only appears in the Devbox list, not in the Cursor UICursor- press Configure in the Cursor tile, fill in the following, and press Save:Service token- the service account key you created in the previous stepPool name- the name of the worker pool
Operating system- pick between Linux or macOS, along with the image or macOS versionInstance size- to select the vCPUs and RAM your tasks need
The Pool name appears in the Cursor UI under Remote Machines once the blueprint is saved.See blueprint configuration for more configuration options.
Running the agent
And now, you can run a Cursor Cloud Agent on a Devbox.Start a New Chat, expand the menu next to the icon, and select your Devbox Pool name from the list of Remote Machines.
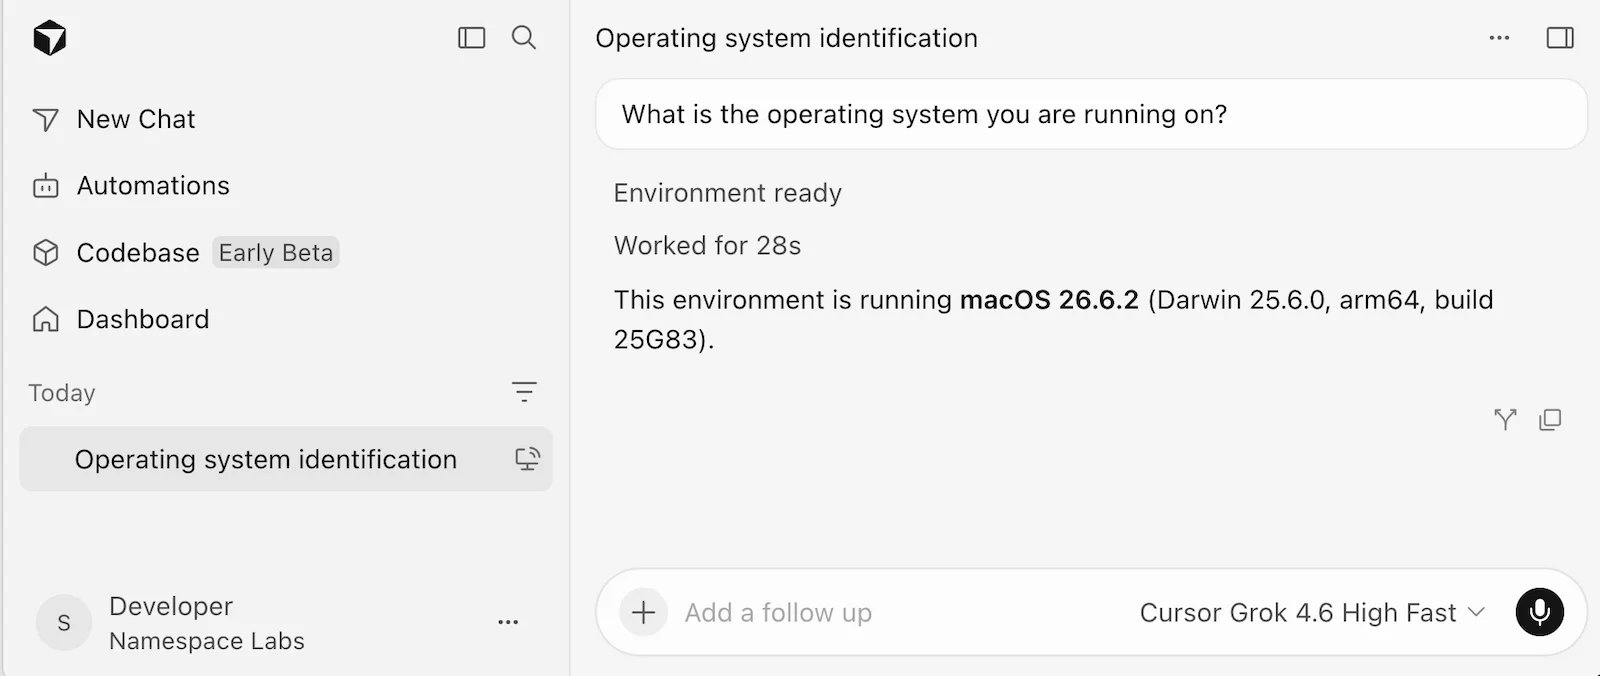
Agent Prompt