

Connect your agent
Add the server to your agent, then log in.- Claude Code
- Codex CLI
- Cursor
- VS Code
- Amp
- Gemini CLI
Add the server for all your projects:Log in by running To check the connection, run
/mcp in a Claude Code session, selecting namespace, and choosing Authenticate. You can also log in from the terminal:claude mcp list.


Choose access
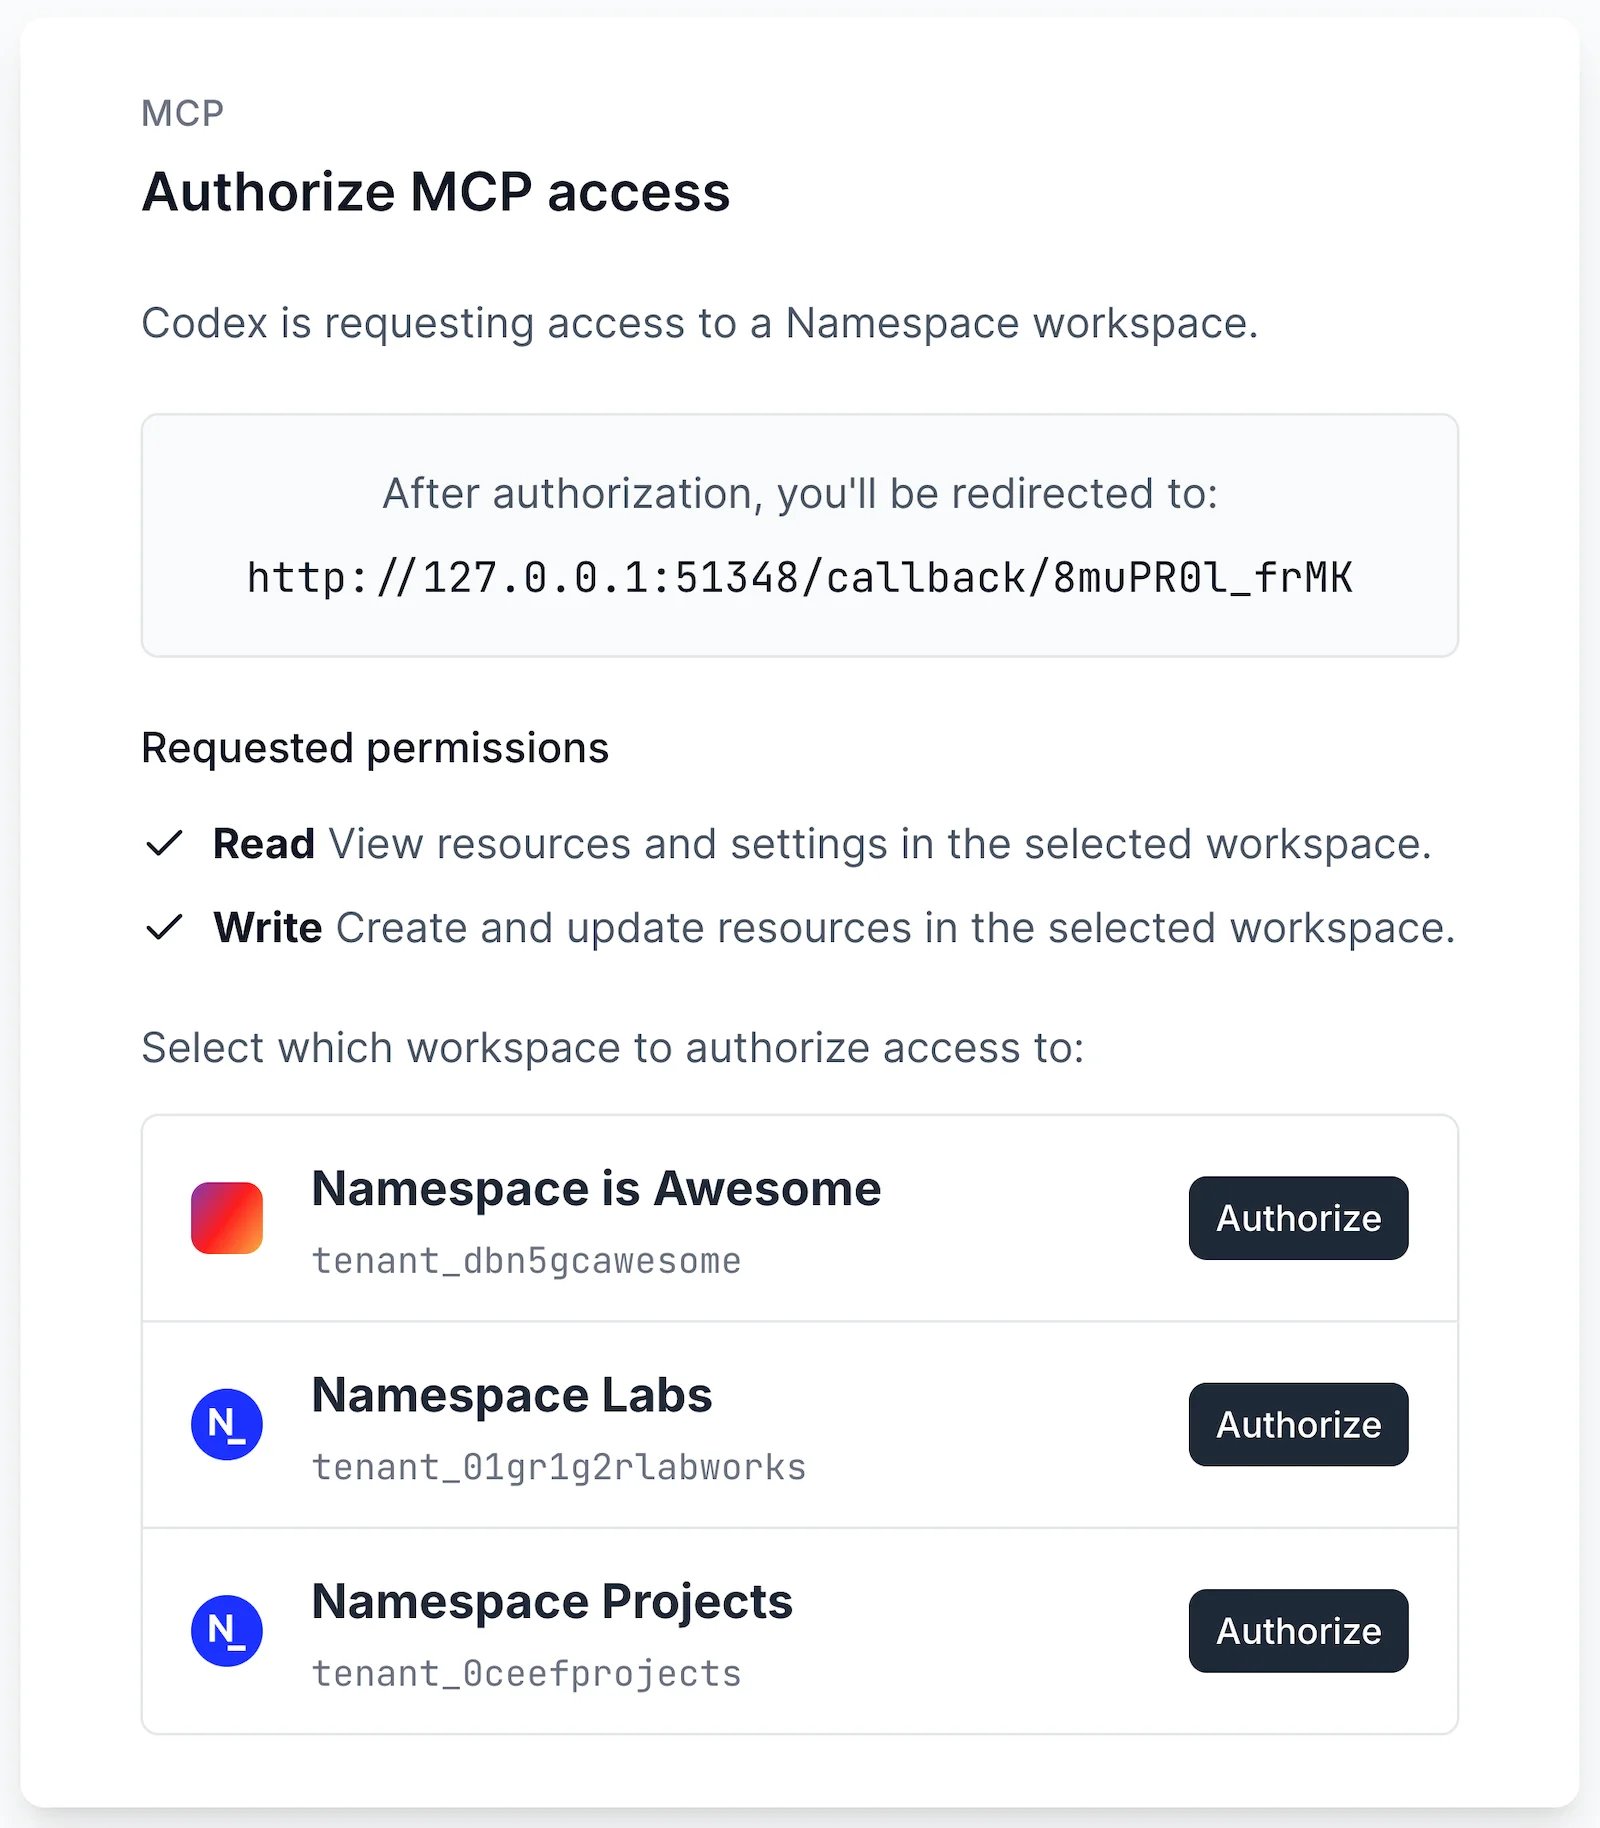
The first time your agent connects, it opens Namespace in your browser. Review the requested permissions, then authorize the workspace it can access.
Common use cases
Use MCP with local tools
For the most efficient workflows, installnsc, devbox, and the GitHub CLI alongside the Namespace MCP server. MCP connects the agent to your Namespace resources. When a task needs capabilities it doesn’t provide, it may guide the agent to the appropriate CLI.