

default queue; an existing cluster uses the queue name selected during setup.
Register another queue
- In Buildkite, navigate to Agents and select the cluster where you want to run Namespace agents.
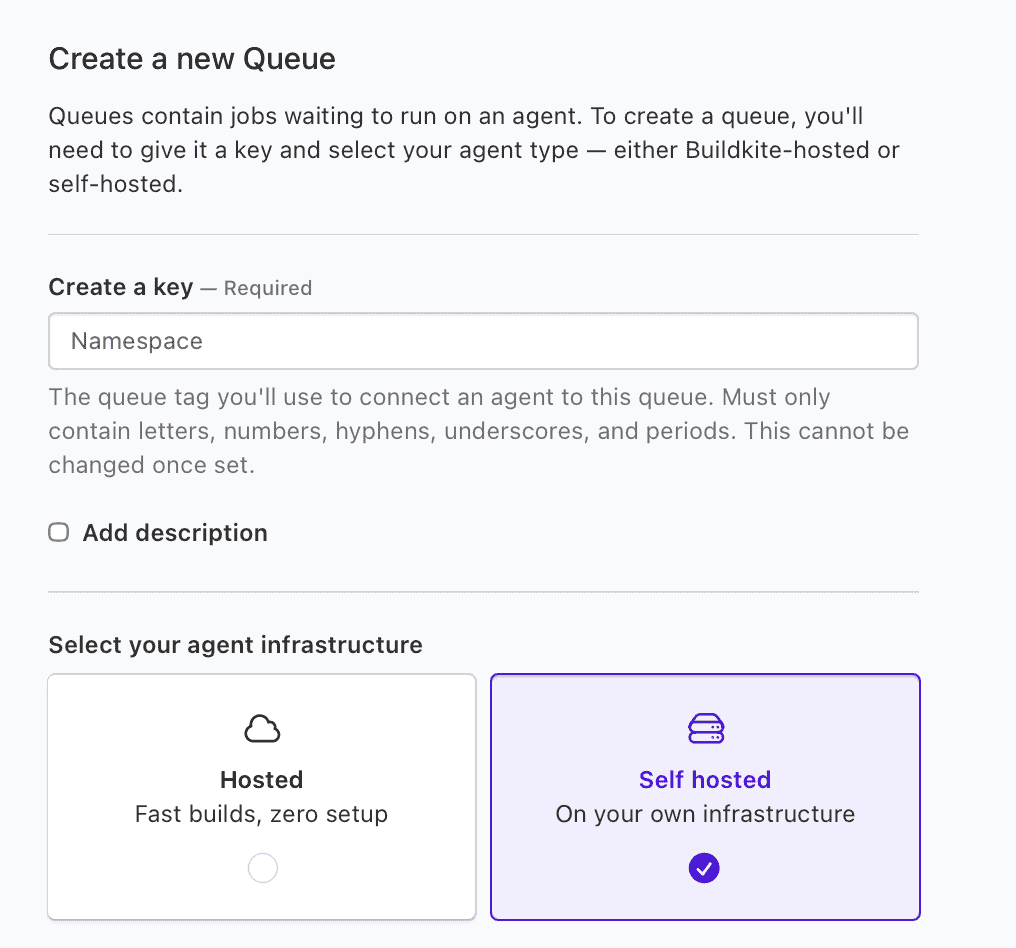
- Create a new self-hosted queue.
- Open Buildkite → Organizations in the Namespace dashboard. Click on the organization you want to manage, and then click Queues. This page lists all registered and unregistered queues, grouped by Buildkite cluster.
- Find the queue and click Register.
- Confirm the registration. Namespace creates an agent token and begins acquiring jobs from the queue.
Make sure that your webhook is configured to send events from the pipelines using this queue.Webhook Settings →
Select a queue for a job
Set thequeue agent tag on a pipeline or step to send jobs to the registered queue:
Configure queue settings
Each registered queue can be configured to carry additional settings that apply to every job in that queue. You can, for example, configure a queue to always use an egress policy, or to carry different workload permissions. You can configure queue settings via the API, or using the CLI withnsc buildkite queue update.
See all available settings.