Kubernetes Previews
Fast and secure Previews for developers who want rapid feature iterations on Kubernetes.
Your company uses Kubernetes to run the production services, so you want to test your changes in an environment replicating the production one. With Namespace, you can now integrate Kubernetes into your development workflow. Namespace can create an ephemeral Kubernetes cluster that runs your application in less than 6 seconds, and you get a public authenticated URL to preview your features.
Create Kubernetes Previews
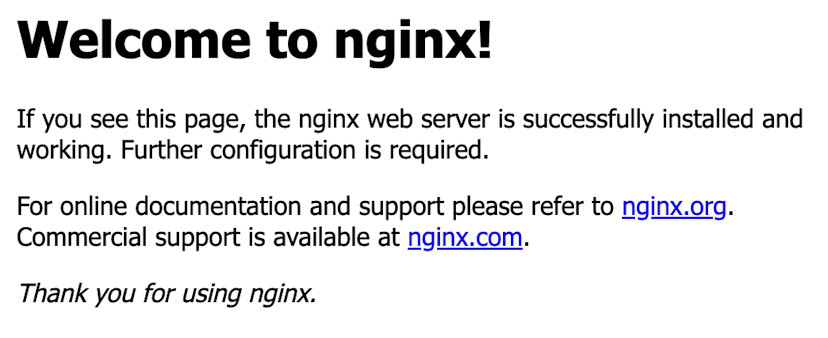
Let's start simple and get a preview of nginx home page running in Kubernetes.
The following list of commands: creates a new ephemeral Kubernetes cluster,
deploys nginx container, defines a LoadBalancer service on port TCP/80,
and finally exposes the service with a public authenticated preview.
$ nsc create
  Created new ephemeral environment! ID: 072higp5dg0bg
  More at: https://cloud.namespace.so/01gr490qvbntkjn9jwypnd4g04/cluster/072higp5dg0bg

$ nsc kubectl 072higp5dg0bg run nginx --image=nginx
pod/nginx created

$ nsc kubectl 072higp5dg0bg expose pod nginx --type=LoadBalancer --port=80
service/nginx exposed

$ nsc expose kubernetes 072higp5dg0bg --namespace=default --service=nginx --name=nginx-foobar
Exported port 80 from default/nginx:
  https://nginx-foobar-072higp5dg0bg.fra1.nscluster.cloud
Within a few seconds, Namespace programmed the environment to host the preview behind a pre-generated URL that you can already share to your team.
The first link from the snippet of instructions above guides you to an overview of the Kubernetes environment in our Namespace dashboard.
You will see the logs directly from the running pods when opening the cluster page that hosts your preview (072higp5dg0bg in the above example).
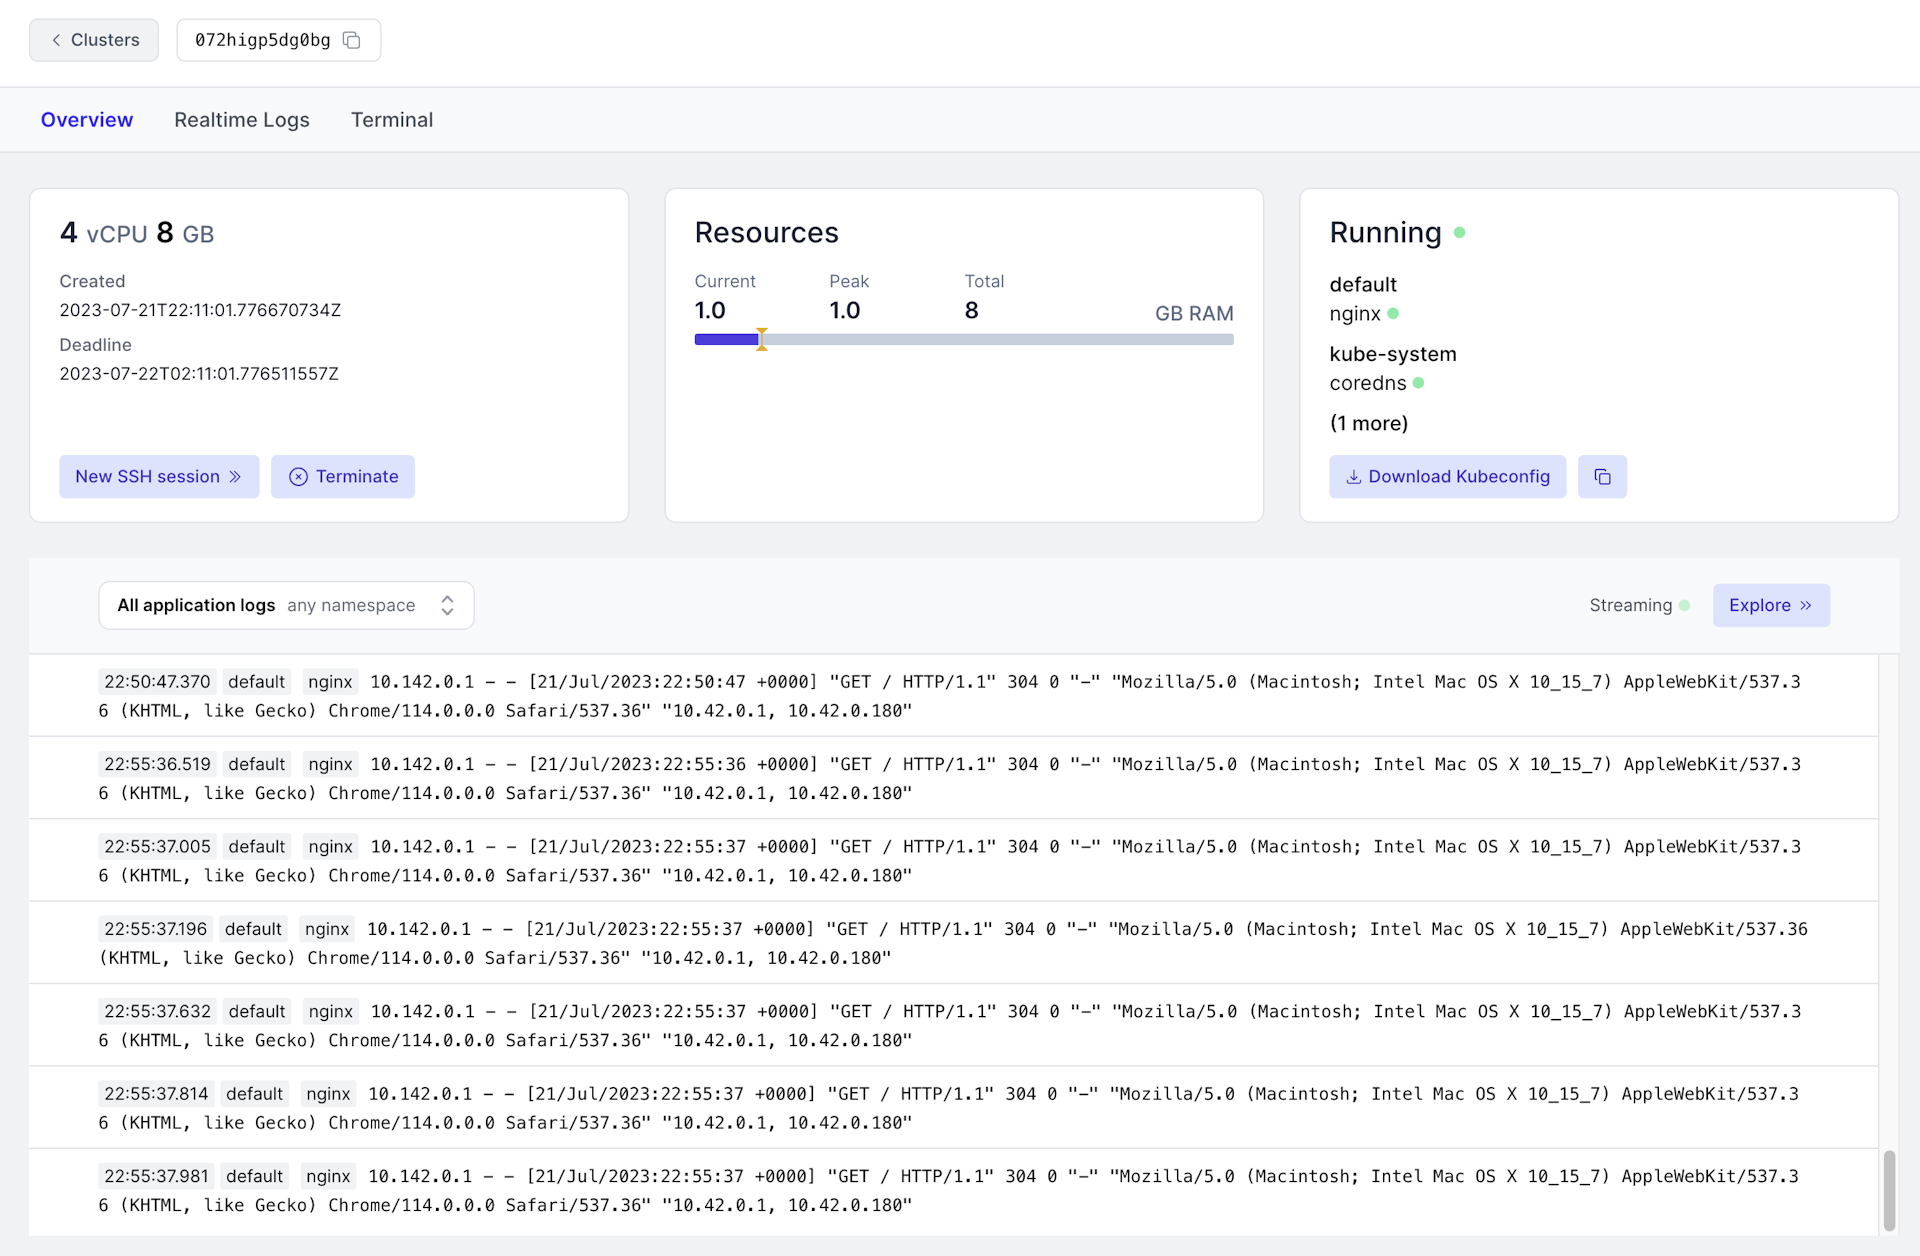
By selecting the tab Terminal, you can jump into a root SSH session, right in your browser.
Alternatively, you can employ nsc to SSH into the preview.
$ nsc ssh 072higp5dg0bg
> kubectl get pods

NAME        READY   STATUS    RESTARTS   AGE
pod/nginx   1/1     Running   0          17m
You can also use nsc to configure your local kubectl to connect to the remote Kubernetes cluster running the ephemeral preview.
$ nsc kubeconfig write 072higp5dg0bg
Wrote Kubeconfig for cluster 072higp5dg0bg to /path/kubeconfig.yaml.

$ export KUBECONFIG=/path/kubeconfig.yaml.

$ kubectl get pods,services

NAME        READY   STATUS    RESTARTS   AGE
pod/nginx   1/1     Running   0          17m

NAME            TYPE           CLUSTER-IP       EXTERNAL-IP   PORT(S)        AGE
service/nginx   LoadBalancer   10.143.94.234    10.0.1.2      80:32032/TCP   17m
The second link brings you straight to the running application.
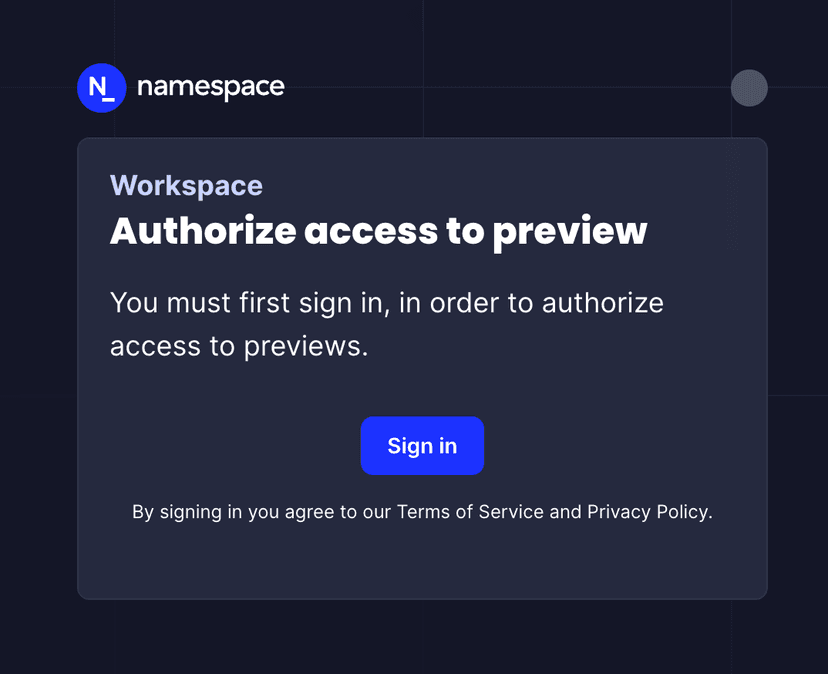
You will see the sign-in page if you are not logged in to your browser or not a member of the preview's workspace. Such as follows.
Developing with Kubernetes Previews
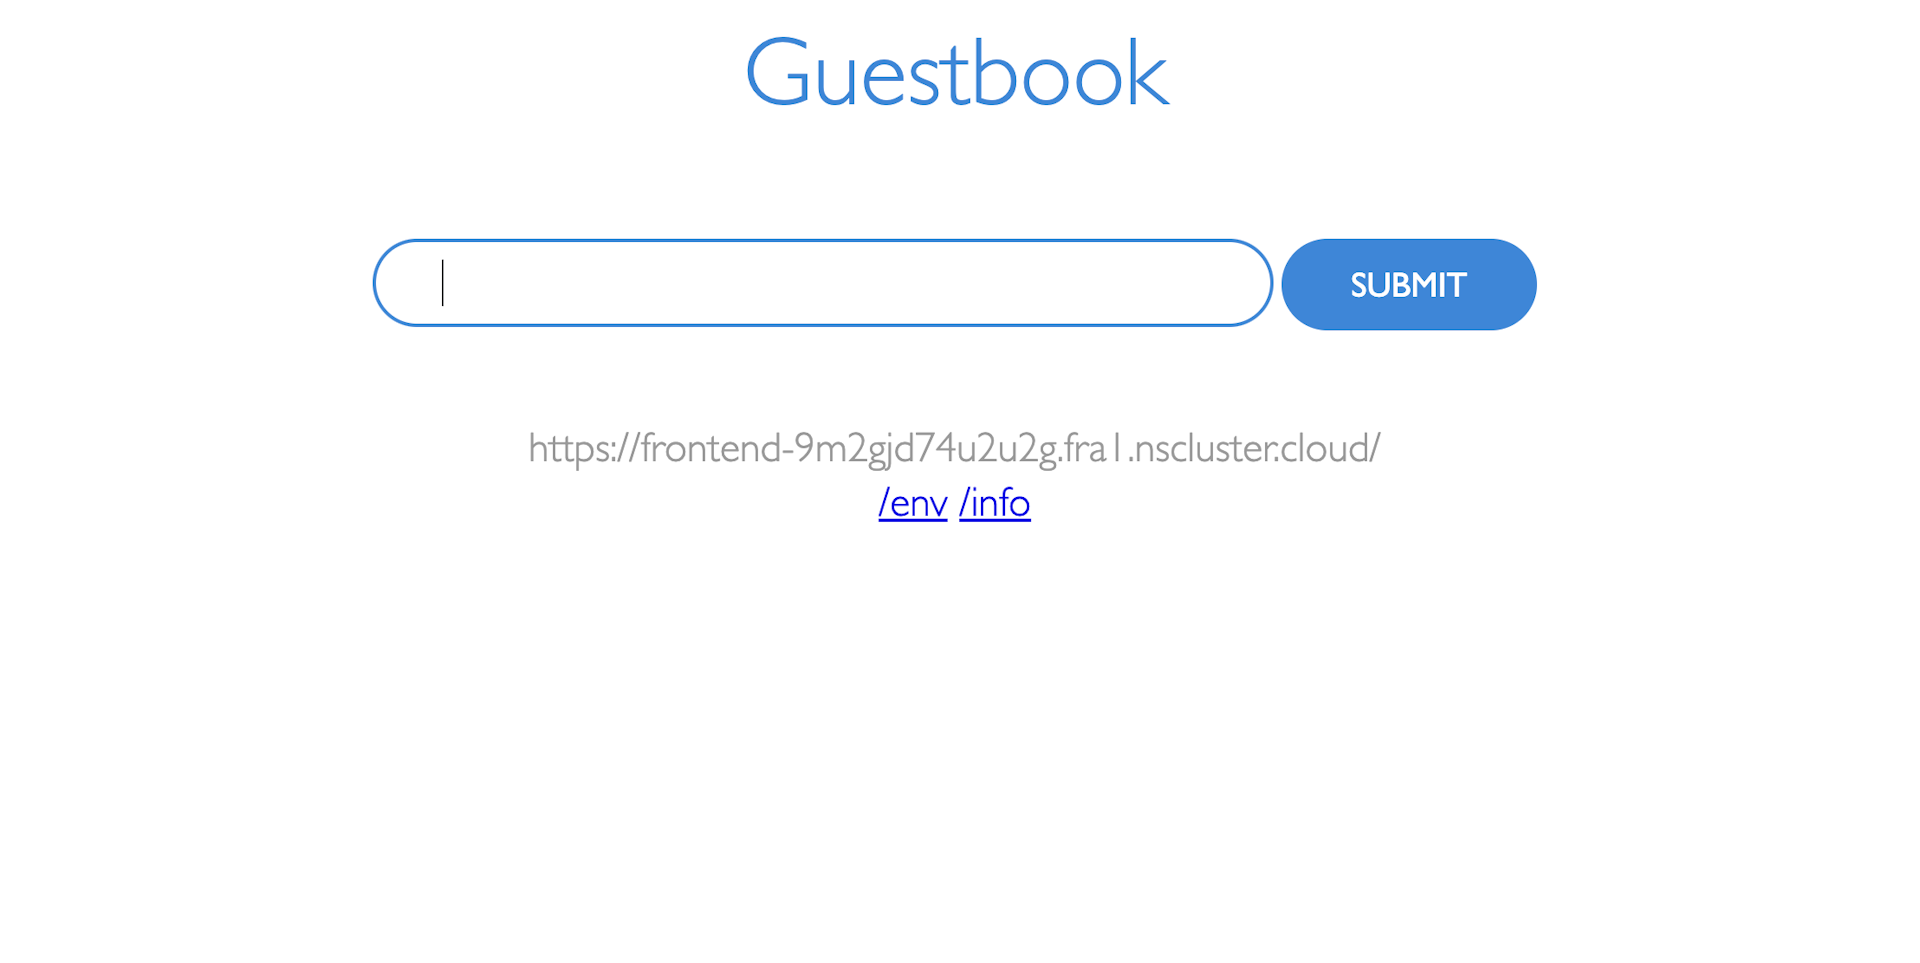
We will use the Guestbook app to show how you can use Namespace Kubernetes Previews during development.
The following application sample requires kubectl and kustomize installed.
Clone the repository locally.
$ git clone git@github.com:namespacelabs/guestbook-go.git && \
  cd guestbook-go
This sample app consists of a HTTP server container written in Go, which stores messages into Redis. So, we need to build the Go container image. We are going to use the workspace Builder and push the image to private registry.
However, any container registry would work just as fine. The --name flag will tag the image with your
Workspace's registry repository (nscr.io/8enum0hp1l5ii in our example).
$ nsc build . --name guestbook:v1 --push

  Pushed for linux/amd64:
    nscr.io/8enum0hp1l5ii/guestbook:dev
Now, we modify the Kubernetes manifests to use the new image we built for development.
This command modifies the kustomization.yaml file to inject the image name.
$ kustomize edit set image guestbook=nscr.io/8enum0hp1l5ii/guestbook:devThen, we need a fresh ephemeral Kubernetes cluster.
$ nsc create

Created new ephemeral environment! ID: oabpalureod3g
More at: https://cloud.namespace.so/8enum0hp1l5ii/cluster/oabpalureod3g
Take note of the cluster ID; we need it for a couple more steps.
You can also use the --cidfile flag to write the cluster ID to a file.
We want to use our local kubectl to interact with this remote ephemeral cluster,
so we extract and use the kubeconfig file.
$ nsc kubeconfig write oabpalureod3g --output_to /tmp/kubeconfig.yaml && \
    export KUBECONFIG=$(cat /tmp/kubeconfig.yaml)
We can now deploy the Kubernetes manifests using kustomize.
$ kubectl apply -k .

service/frontend created
service/redis-master created
service/redis-replica created
deployment.apps/guestbook created
deployment.apps/redis-master created
deployment.apps/redis-replica created
We can verify that pods and services are up and running.
$ kubectl get pods,svc
NAME                                 READY   STATUS    RESTARTS   AGE
pod/guestbook-685577f476-qk594       1/1     Running   0          25m
pod/guestbook-685577f476-pl8pw       1/1     Running   0          25m
pod/redis-replica-5d5bb655db-w9m7v   1/1     Running   0          25m
pod/redis-replica-5d5bb655db-l8vtz   1/1     Running   0          25m
pod/redis-master-67dcb4f96f-rq7ch    1/1     Running   0          25m
pod/guestbook-685577f476-bswp2       1/1     Running   0          25m

NAME                    TYPE           CLUSTER-IP       EXTERNAL-IP   PORT(S)          AGE
service/kubernetes      ClusterIP      10.143.0.1       <none>        443/TCP          37m
service/frontend        LoadBalancer   10.143.145.119   10.0.1.1      3000:31970/TCP   25m
service/redis-master    ClusterIP      10.143.191.80    <none>        6379/TCP         25m
service/redis-replica   ClusterIP      10.143.114.185   <none>        6379/TCP         25m
Note that there is a LoadBalancer frontend service. This is the one we want to expose through a public authenticated URL, so that
you and your teammates can see the changes.
$ nsc expose kubernetes oabpalureod3g --namespace=default --service=frontend --name=frontend

Exported port 3000 from default/frontend:
https://frontend-oabpalureod3g.fra1.nscluster.cloud
Behind the scene, Namespace generates the public URL and programs the environment to redirect traffic towards the LoadBalancer service on the configured port (i.e. 3000 in our case).
The URL is authenticated. That means only the members of your Workspace can open the preview.
If you are logged in and a member of the same Workspace, you will see the Django app preview.
You will see the sign-in page if you are not logged in to your browser or not a member of the preview's workspace. Such as follows.
Debug the Kubernetes Preview
You can inspect your cluster objects through standard kubectl commands or API.
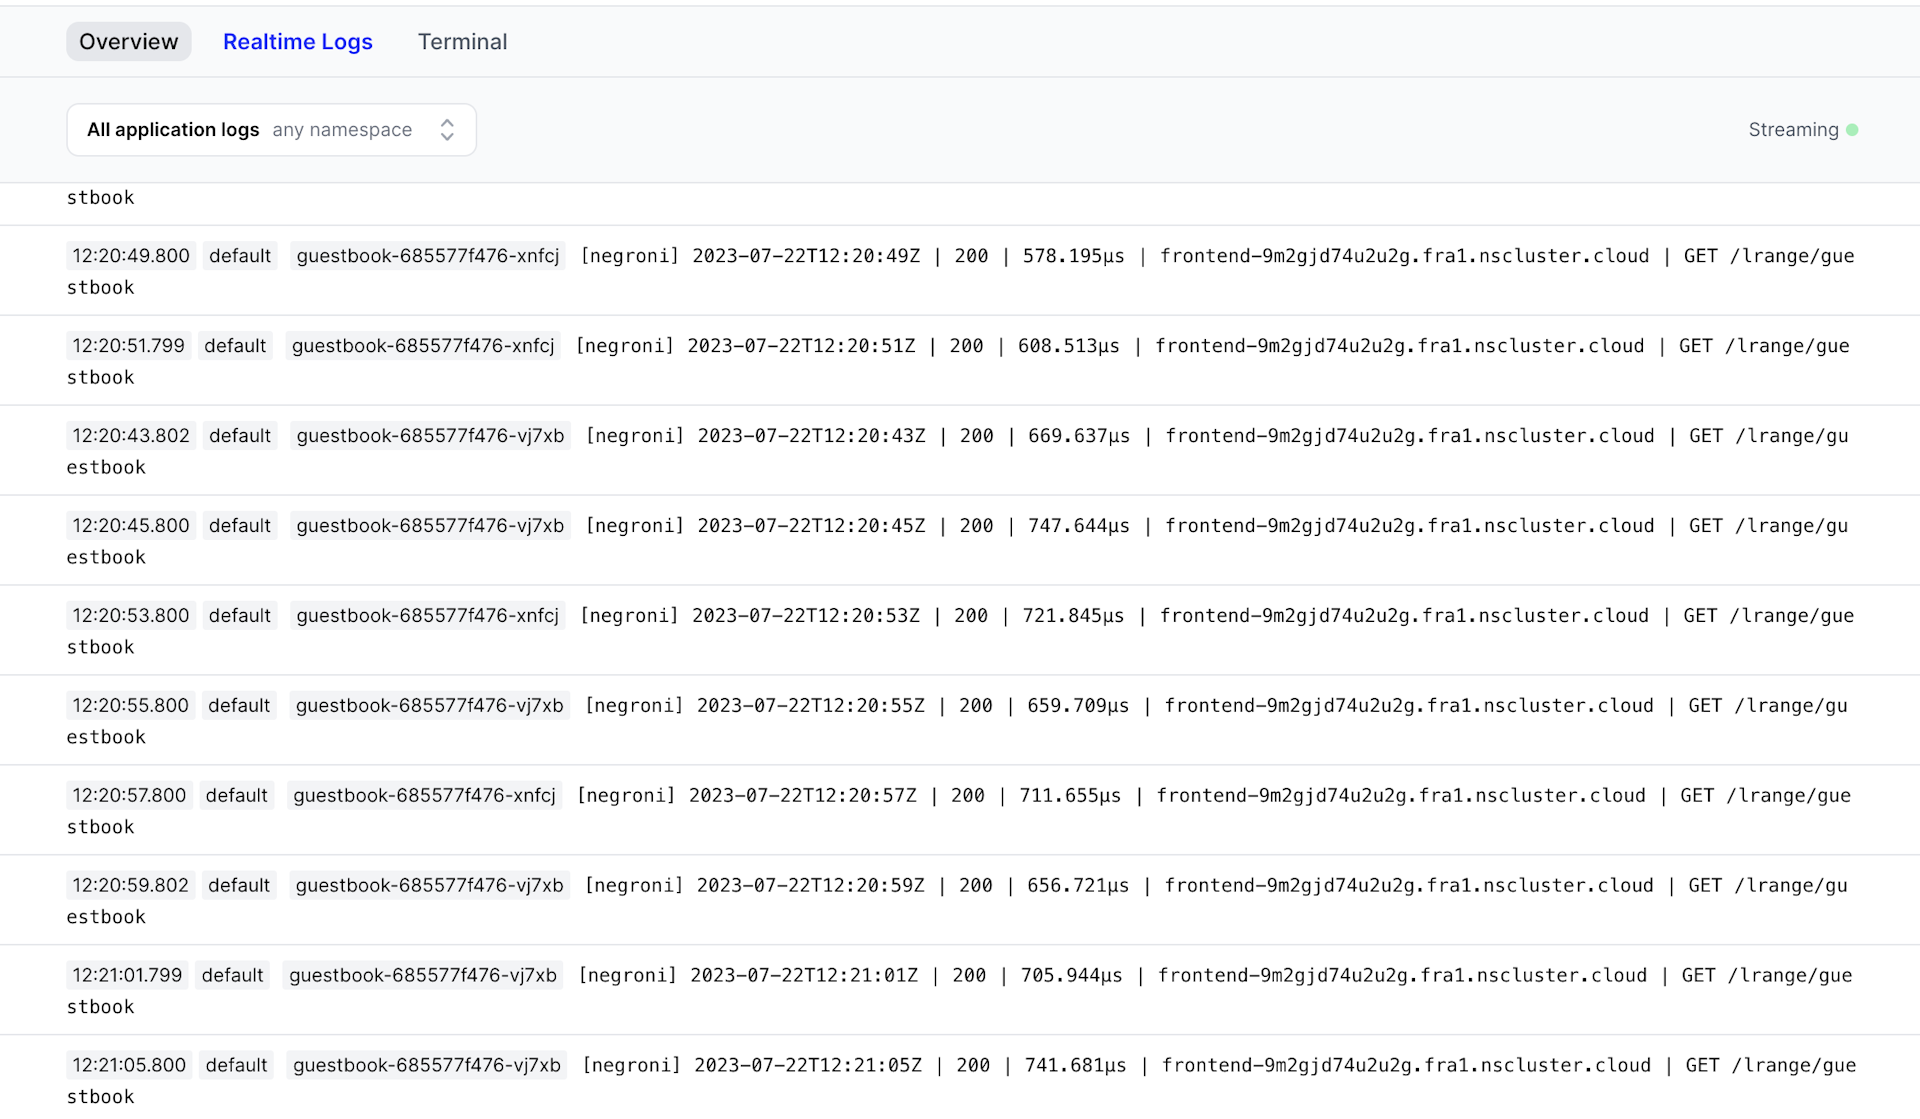
However, Namespace already collects every pod logs and streams them to your workspace dashboard.
Go to the cluster view and click the Realtime Logs tab. You will see the logs from every pod being streamed in real-time.
Experimental: Automatic Previews
Namespace can automatically generate previews for your applications.
Namespace’s ingress manager eliminates the need to run nsc expose kubernetes entirely.
Instead, the ingress manager observes annotations on your services to expose previews automatically.
Let's walk through a simple example using nginx and expose a preview purely from within Kubernetes.
First, we create a cluster to host our example.
$ nsc create --features EXP_KUBERNETES_INGRESS_MANAGER

  Created new ephemeral environment! ID: dr9flh12238uk
  More at: https://cloud.namespace.so/01gr490qvbntkjn9jwypnd4g04/cluster/dr9flh12238uk
We pass the feature EXP_KUBERNETES_INGRESS_MANAGER to the invocation to deploy Namespace’s ingress manager.
Next, let's configure our local kubectl and deploy nginx.
$ nsc kubeconfig write dr9flh12238uk
Wrote Kubeconfig for cluster dr9flh12238uk to /path/kubeconfig.yaml.

$ export KUBECONFIG=/path/kubeconfig.yaml

$ kubectl run nginx --image=nginx
pod/nginx created
Finally, to expose nginx, we can just continue with kubectl.
$ kubectl expose pod nginx --type=LoadBalancer --port=80
service/nginx exposed

$ kubectl annotate service nginx kubernetes.namespace.so/expose='true'
service/nginx annotated
Adding the annotation kubernetes.namespace.so/expose: true instructs the ingress manager that this service should be exposed.
It will expose all ports by the provided service and generate an ingress address for it.
You can confirm that the service was indeed exposed by fetching the address with nsc ingress list.
% nsc ingress list dr9flh12238uk
https://nginx-80-dr9flh12238uk.fra1.namespaced.app (port: 80; default/nginx Service Type=LoadBalancer)
Configuring the Ingress
In the previous example, we let the ingress manager generate an ingress name for our service to expose.
The ingress manager also allows you to select an ingress name for each exposed port.
We'll use the kubernetes.namespace.so/exposed-port-<port> annotation to configure the ingress.
$ kubectl annotate service nginx \
  kubernetes.namespace.so/exposed-port-80='ingress-name=foobar-nginx'
service/nginx annotated
After adding specifying the ingress name for port 80, you will find that the ingress address has been updated.
% nsc ingress list dr9flh12238uk
https://foobar-nginx-dr9flh12238uk.fra1.namespaced.app (port: 80; default/nginx Service Type=LoadBalancer)
The service annotation kubernetes.namespace.so/expose: true is still required. If this annotation is missing, the ingress manager ignore the service.
What's Next?
- Read the CLI manual for
nsc expose kubernetes - Check out or GitHub action
nscloud-expose-kubernetes-action - Chat with the team on Discord.